
How to Install WHMCS from cPanel using Softaculous with intoHOST
WHMCS (Web Host Manager Complete Solution) is an essential tool for managing clients, billing, and support for web hosting businesses. If you are using intoHOST as your hosting provider, you can easily install WHMCS through cPanel using Softaculous, a popular auto-installer for web applications. This guide will walk you through the process step-by-step.
Prerequisites
Before you begin, make sure you have:
- cPanel Access: Access to your intoHOST cPanel account.
- WHMCS License: A valid WHMCS license, which can be purchased from the WHMCS website.
Step-by-Step Installation Guide
Step 1: Access Softaculous in cPanel
- Log in to cPanel: Use your credentials to log in to your intoHOST cPanel account.
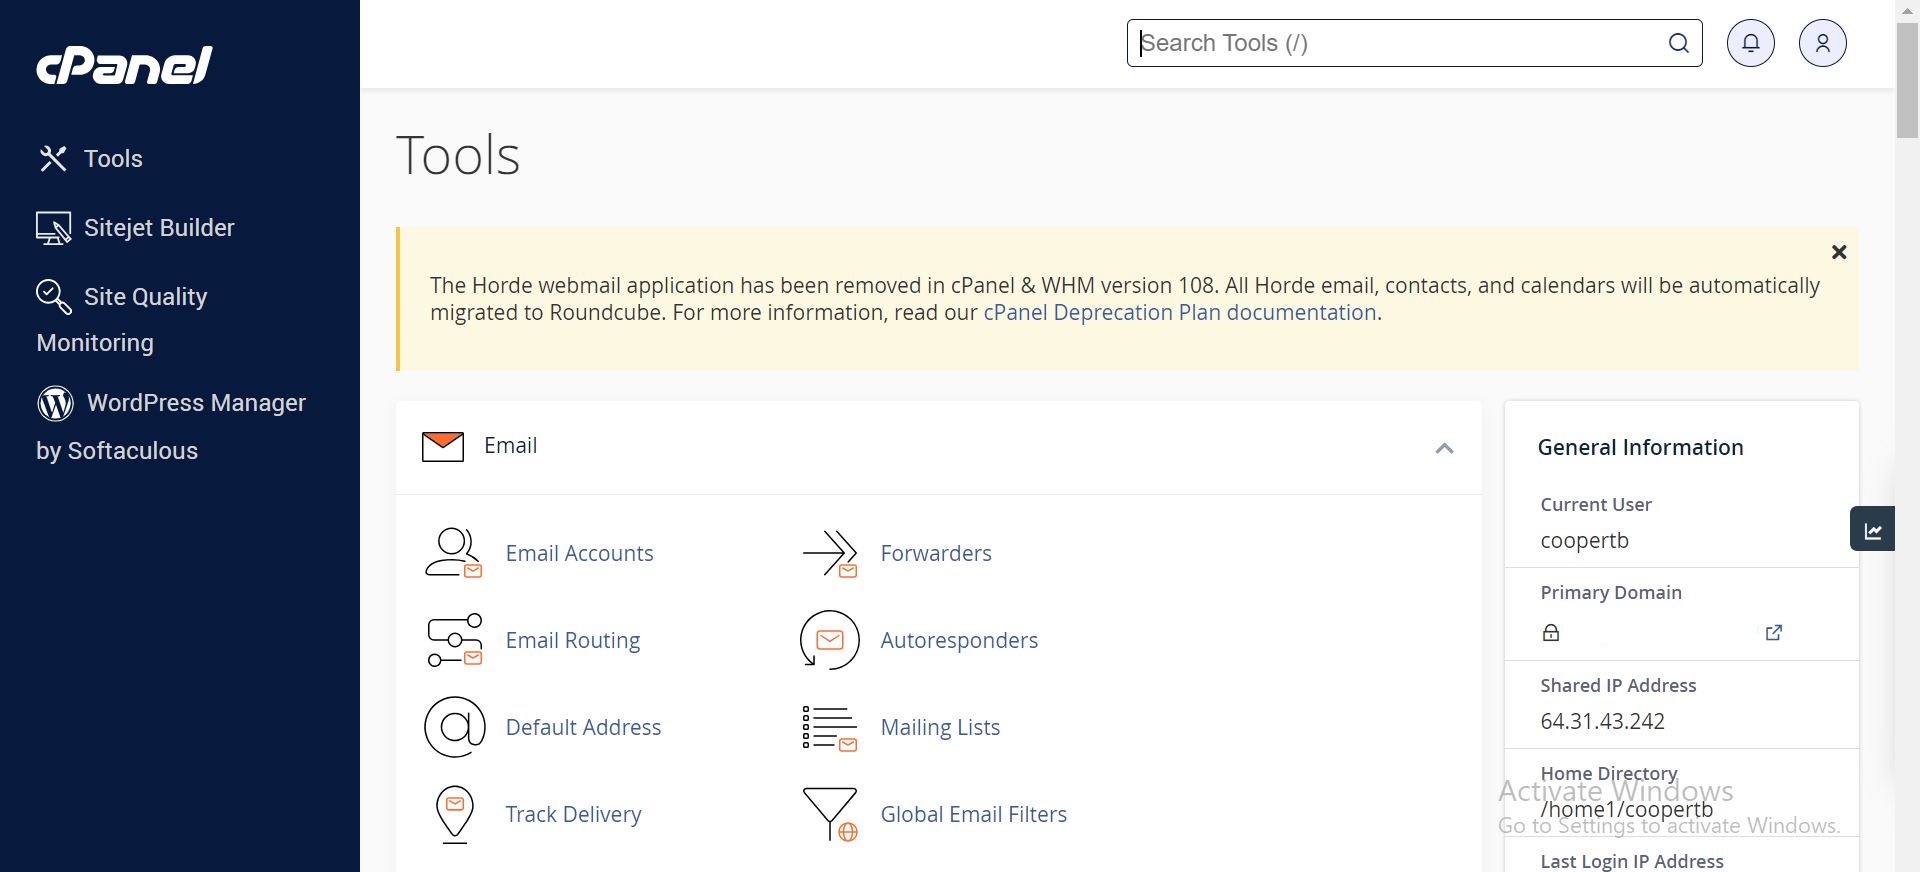
- Locate Softaculous: On the cPanel dashboard, scroll down to the "Software" section and click on "Softaculous Apps Installer".
Step 2: Find WHMCS in Softaculous
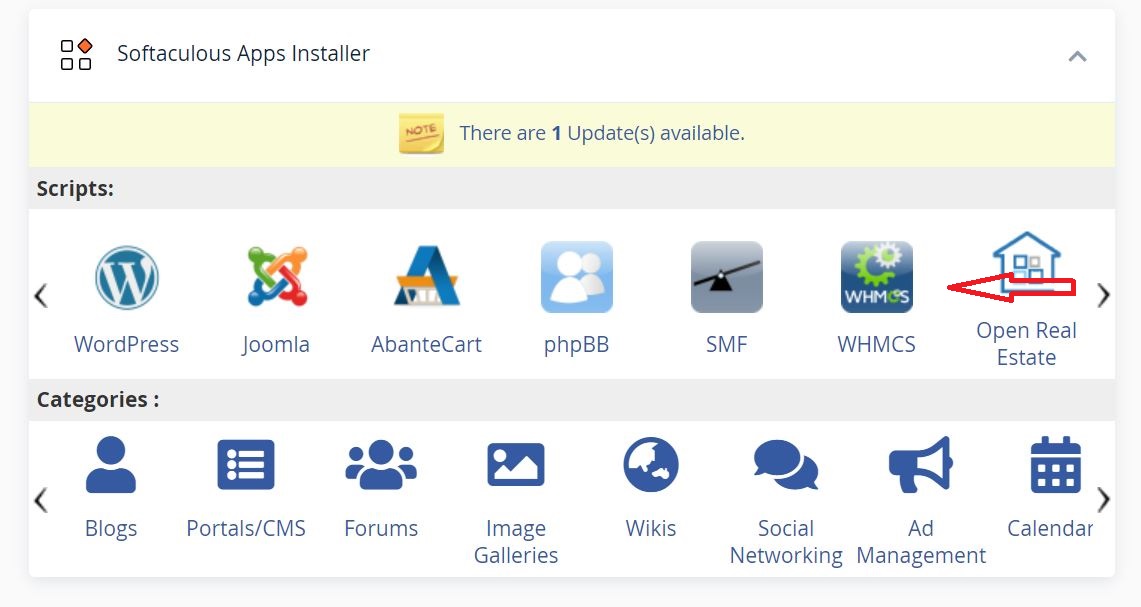
- Search for WHMCS: In the Softaculous interface, use the search bar to type "WHMCS" or navigate to the "E-Commerce" category to find WHMCS.
- Select WHMCS: Click on the WHMCS icon to proceed.
Step 3: Install WHMCS
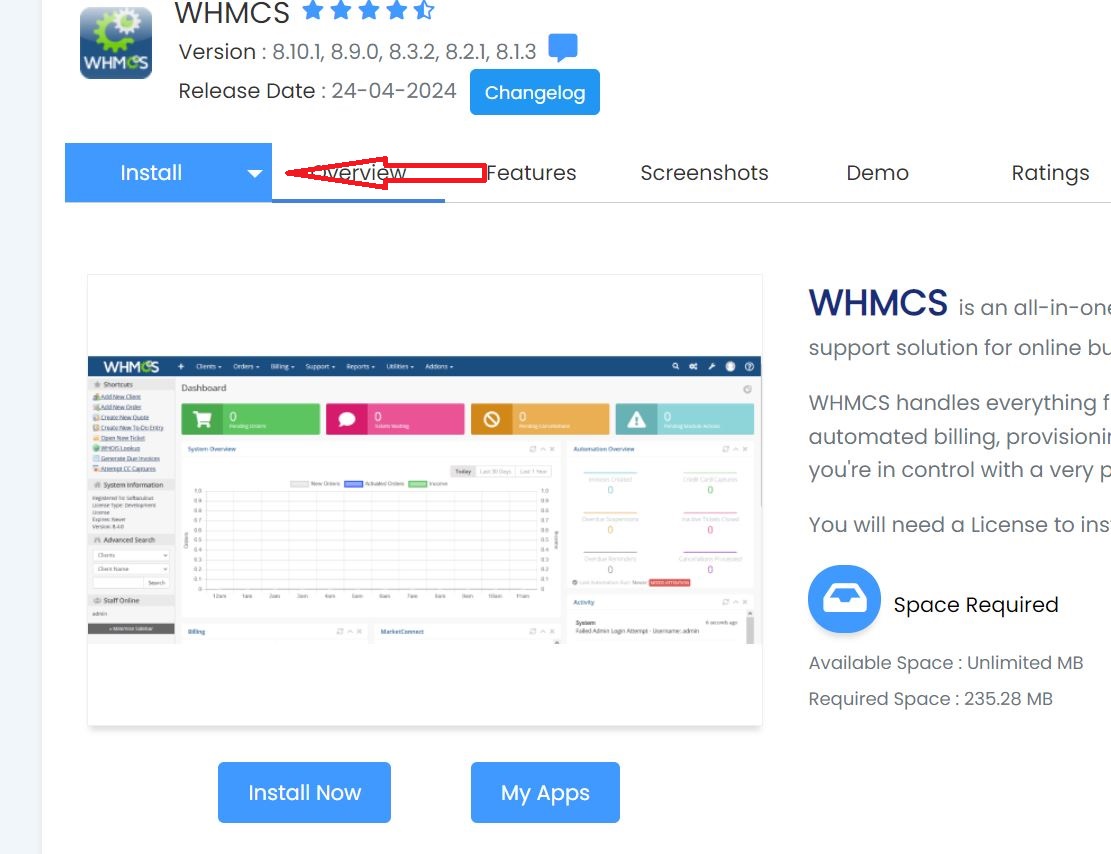
- Click Install: On the WHMCS overview page, click the "Install" button to begin the installation process.
- Software Setup:
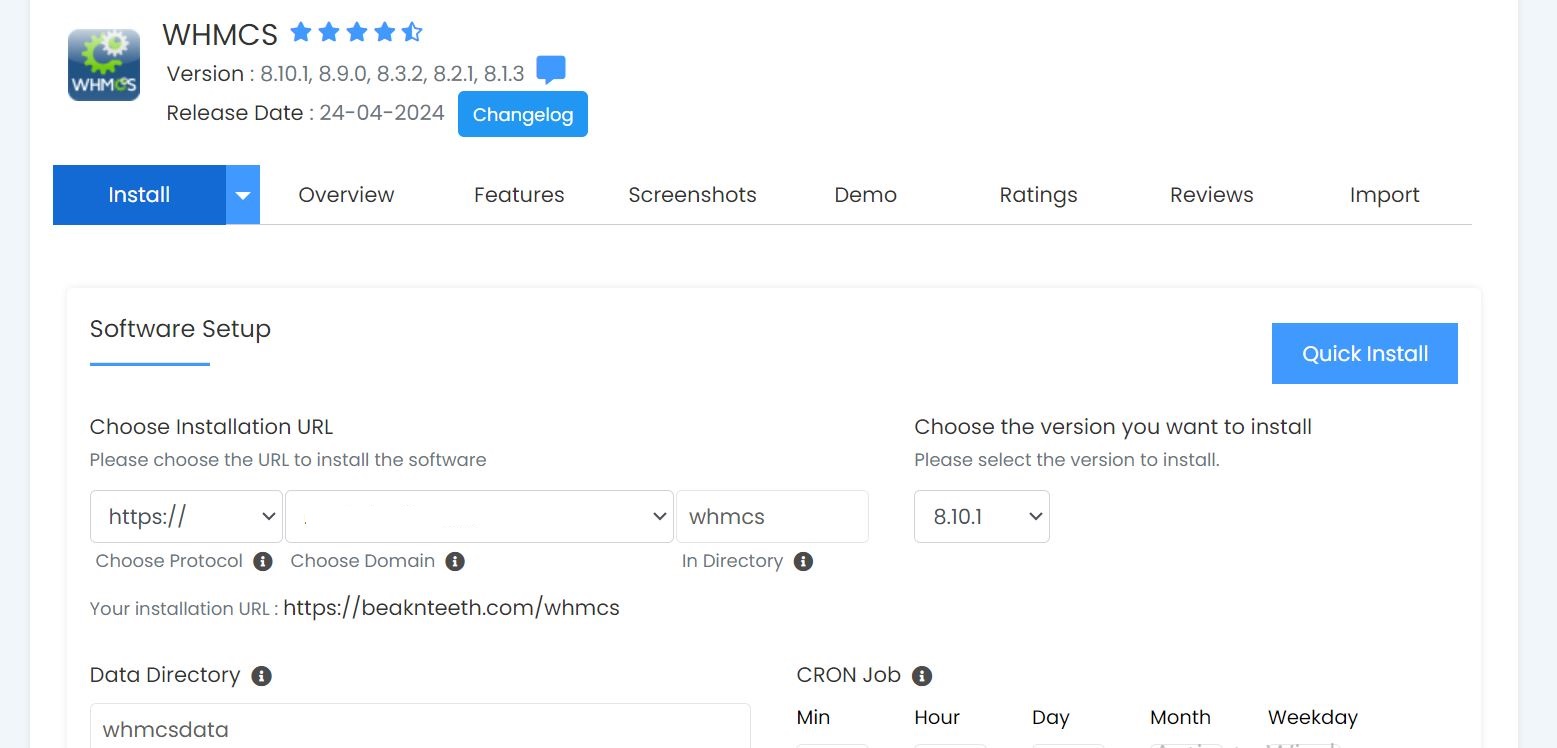
- Choose the version: Select the latest stable version of WHMCS.
- Choose Installation URL: Select the domain and directory where you want to install WHMCS. If you want to install it in the root directory, leave the "Directory" field empty.
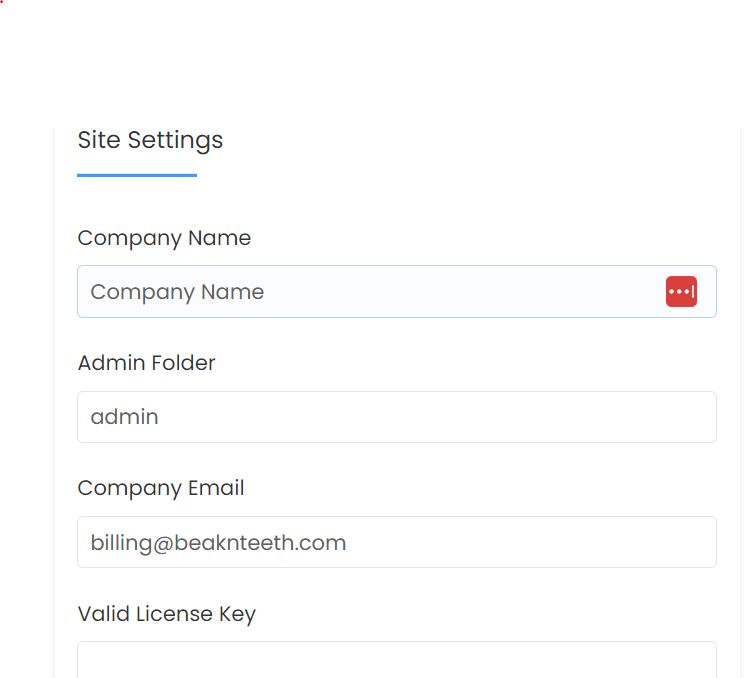
- Site Settings:
- Company Name: Enter your company name.
- Site Name: Enter the name of your WHMCS installation.
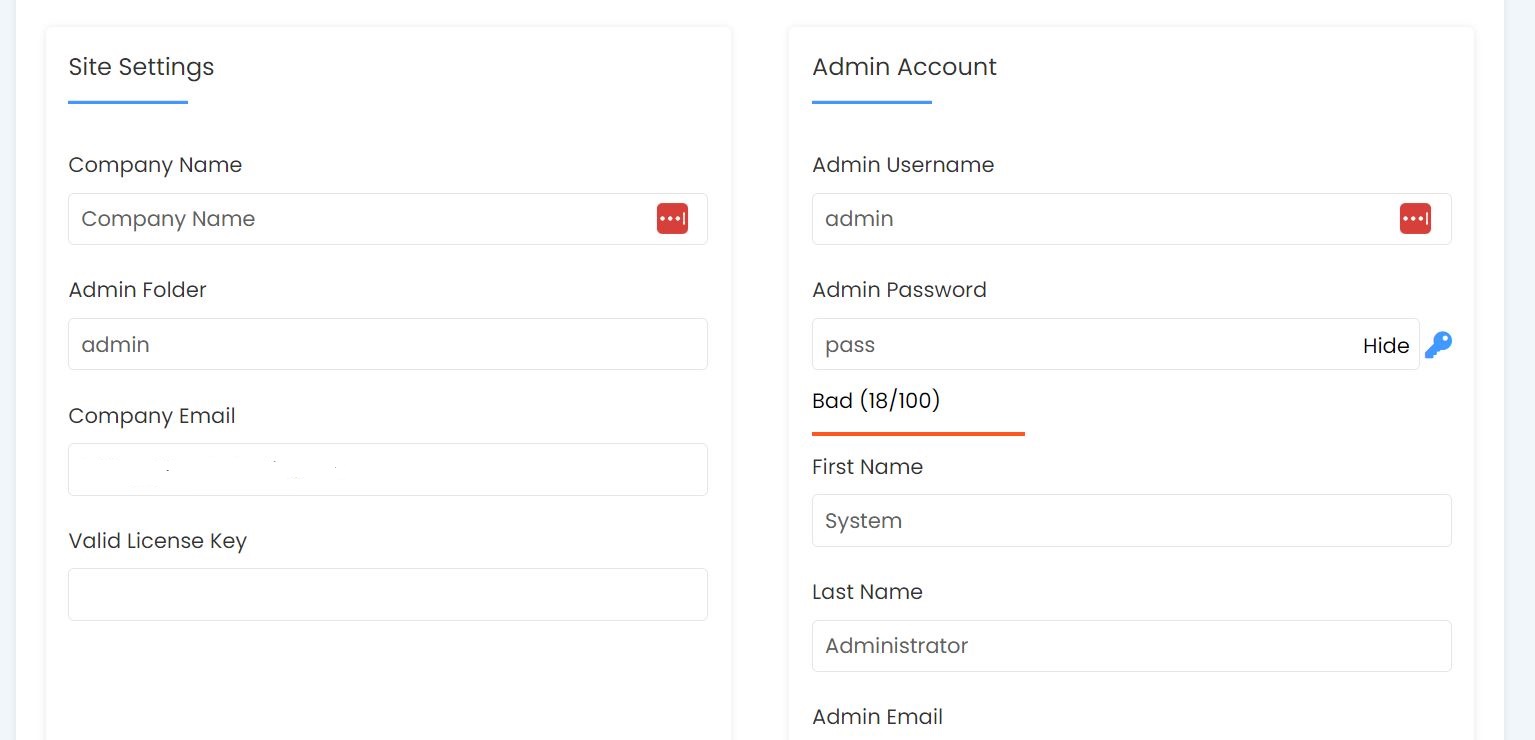
- Admin Account:
- Admin Username: Create a username for the WHMCS admin panel.
- Admin Password: Create a strong password.
- Admin Email: Enter your email address.
- Database Settings:
- Database Name: You can leave the default database name or change it if you prefer.
Step 4: Complete Installation
- Install: After filling out the necessary information, click the "Install" button at the bottom of the page.
- Installation Progress: Softaculous will automatically install WHMCS and set up the database. This process might take a few minutes.
- Installation Complete: Once the installation is complete, you will see a success message with links to the WHMCS admin area and the client area.
Step 5: Configure WHMCS
- Admin Panel Login: Visit the WHMCS admin URL provided after installation, typically something like
http://yourdomain.com/admin. - Login: Use the admin credentials you created during the installation to log in.
- License Key: Enter the WHMCS license key you received upon purchase when prompted.
- Further Configuration: Follow the initial setup wizard to configure basic settings, such as your company details, payment gateways, and email settings.
Step 6: Finalize Security and Customization
- Remove Install Directory: Softaculous usually handles this, but ensure the
installdirectory has been removed from your WHMCS folder for security reasons. - Set Permissions: Ensure proper file permissions are set as recommended by WHMCS documentation (typically, files should be set to 644 and directories to 755).
- Customization: Customize the client area, add your company logo, set up products and services, and configure email templates to match your branding.
By following these steps, you will have successfully installed WHMCS on your intoHOST hosting account using cPanel and Softaculous. This streamlined setup will help you manage your web hosting business more efficiently, from client onboarding to billing and support.